

Quick Answer
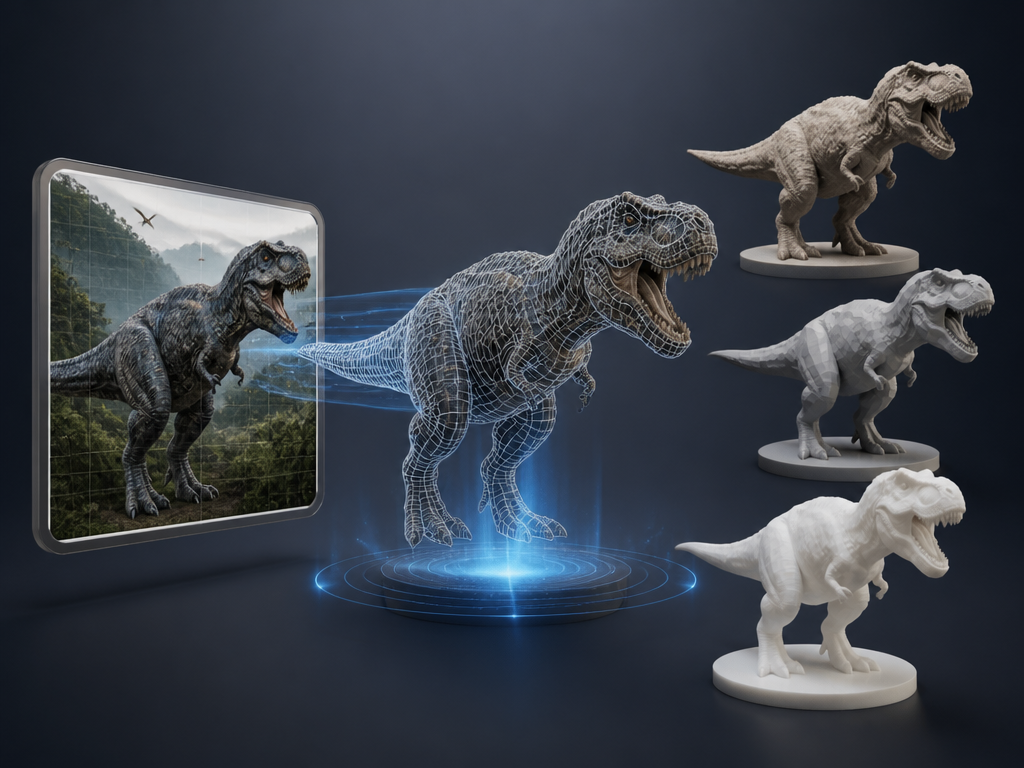
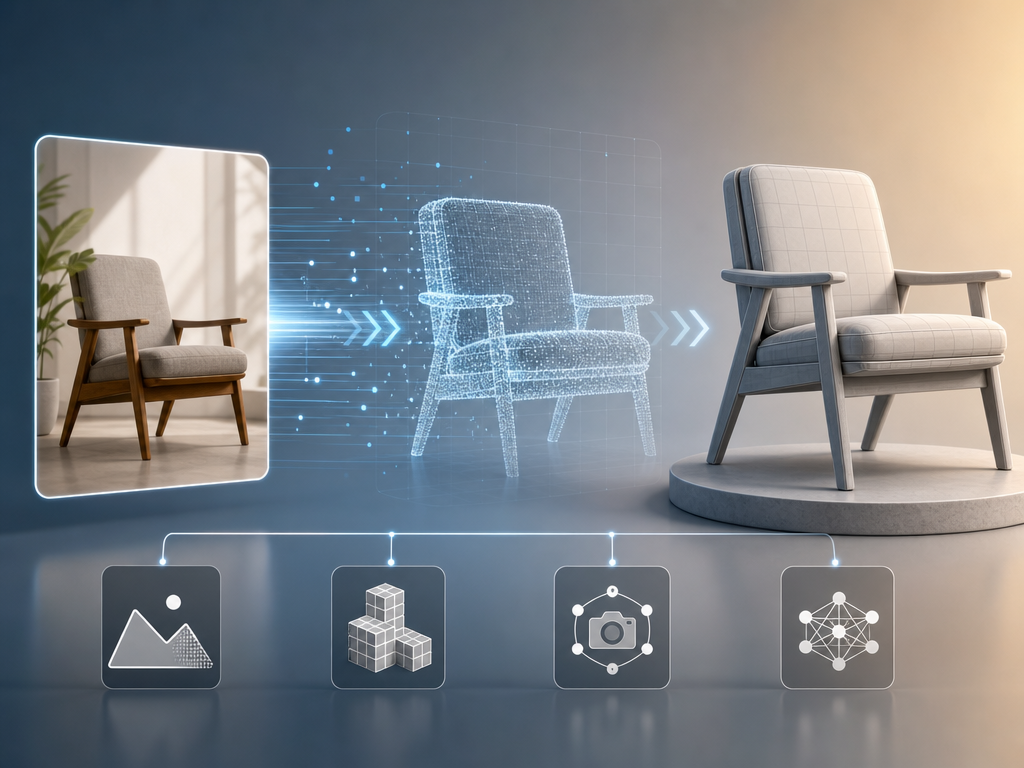
You can turn an image into a 3D model by uploading a single photo (or multiple angles) to an AI-powered tool like Pixmax, Meshy, or Tripo — the AI 3D model tool generates a textured 3D mesh in under two minutes and exports it as OBJ, STL, or GLB for printing, game engines, or further editing. No 3D modeling skills are required.
Why Turn a 2D Photo Into a 3D Model?
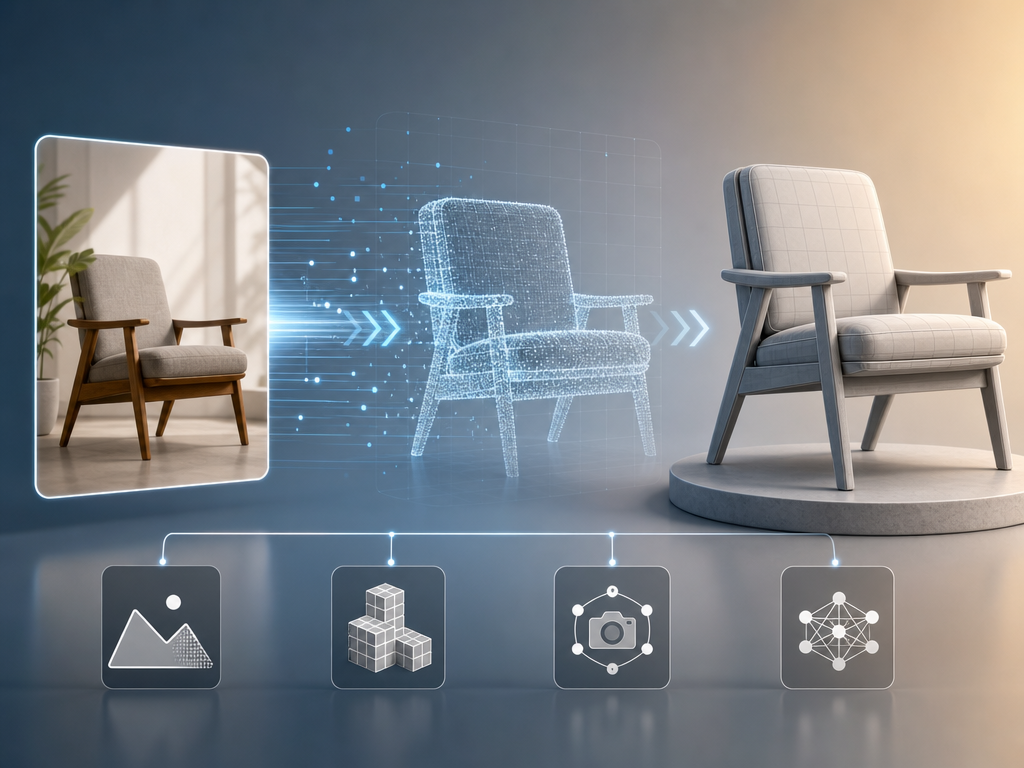
Turning a flat image into a 3D model means converting a single viewpoint into a full three-dimensional object with geometry, textures, and depth. This is no longer a niche skill reserved for professional 3D artists. In 2026, AI collapsed the process from weeks of manual work into minutes of upload-and-generate.
Three real needs drive demand: 3D printing from photos, game asset production, and product visualization. Whether you want to convert a picture to a 3D print file, generate assets for a game, or create a product mockup from a concept sketch — the workflow starts the same way. You need a reliable 2D-to-3D converter that matches your quality requirements and budget.
Choosing the Right Way to Generate 3D Models from Image: Quick Comparison
| Method | Input Required | Speed | Quality | Skill Level | Cost |
|---|---|---|---|---|---|
| AI platforms (Pixmax) | 1 image/text only | 30–120s | High | None | Free tier / $10–20/mo |
| Photogrammetry (Adobe Sampler) | 20–50 photos | 10–30 min | Very high | Medium | $20/mo+ |
| Manual modeling (Blender, Fusion) | 1 image as reference | Hours–days | Highest | High | Free–$60/mo |
| Depth estimation (TRELLIS-2) | 1 image | 3–10s | Medium | Dev skills | Free (open source) |
Method 1: AI-Powered Platforms (Fastest, No Skills Needed)
AI 3D model generators let you upload a single image and produce a fully textured mesh in 30 to 120 seconds—the most accessible way to turn any 2D photo into a 3D model.
Pixmax (Hunyuan3D Pro 3.1)
Pixmax is an all-in-one AI creative platform that includes Hunyuan3D Pro 3.1 — a high-fidelity 3D asset generation model supporting both text-to-3D and image-to-3D workflows. Upload a single or more detailed reference images, and the model produces a 3D mesh with PBR materials, accurate geometry reconstruction, and multi-view consistency across up to 8 angles. Export in OBJ, FBX, or GLB for use in Blender, Unity, Unreal, or 3D printing slicers.
Steps:
- Go to Pixmax and sign up for a free account with a certain number of credits.
CTA Button: Try Pixmax Free (link:https://console.pixmax.ai/)
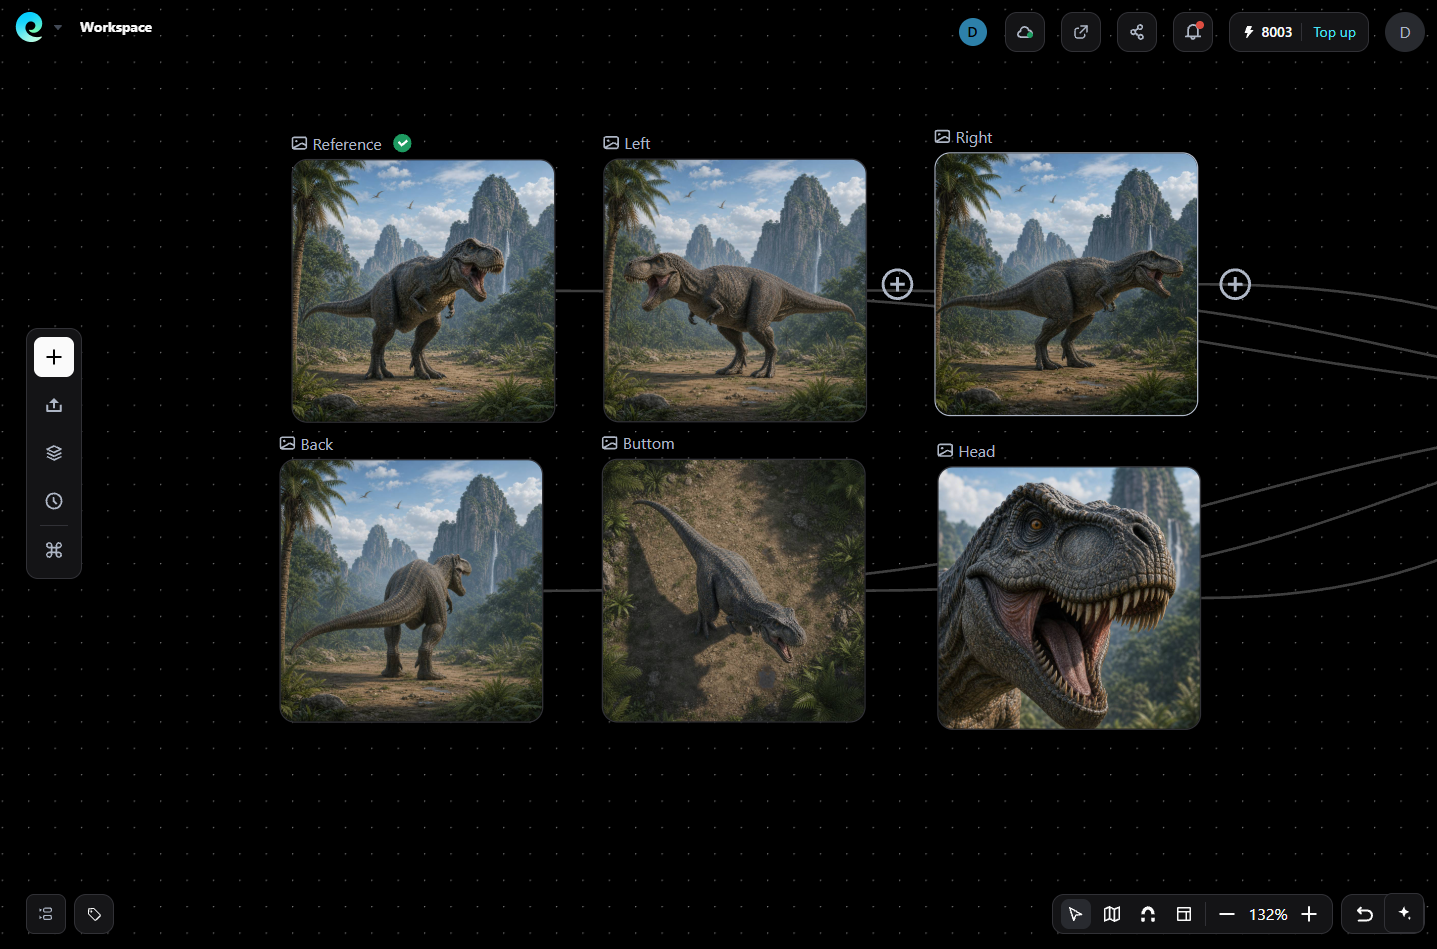
- Upload or paste your reference image on Pixmax. If you don't have a 2D photo yet, you can also try text-to-3D easily.
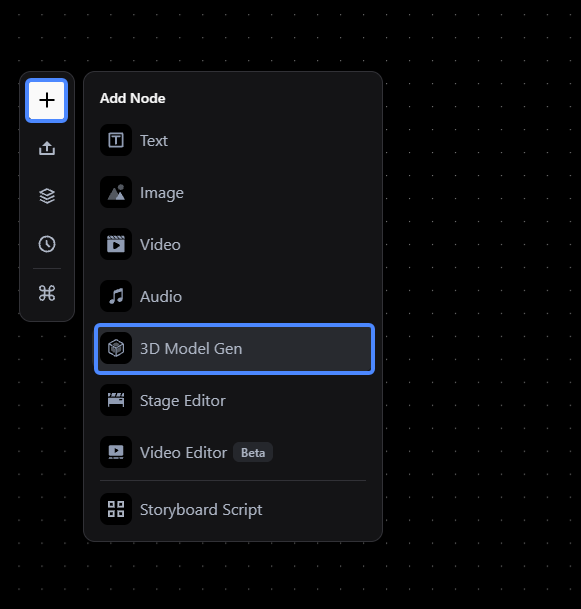
- Click the "+" to choose the 3D Model Gen
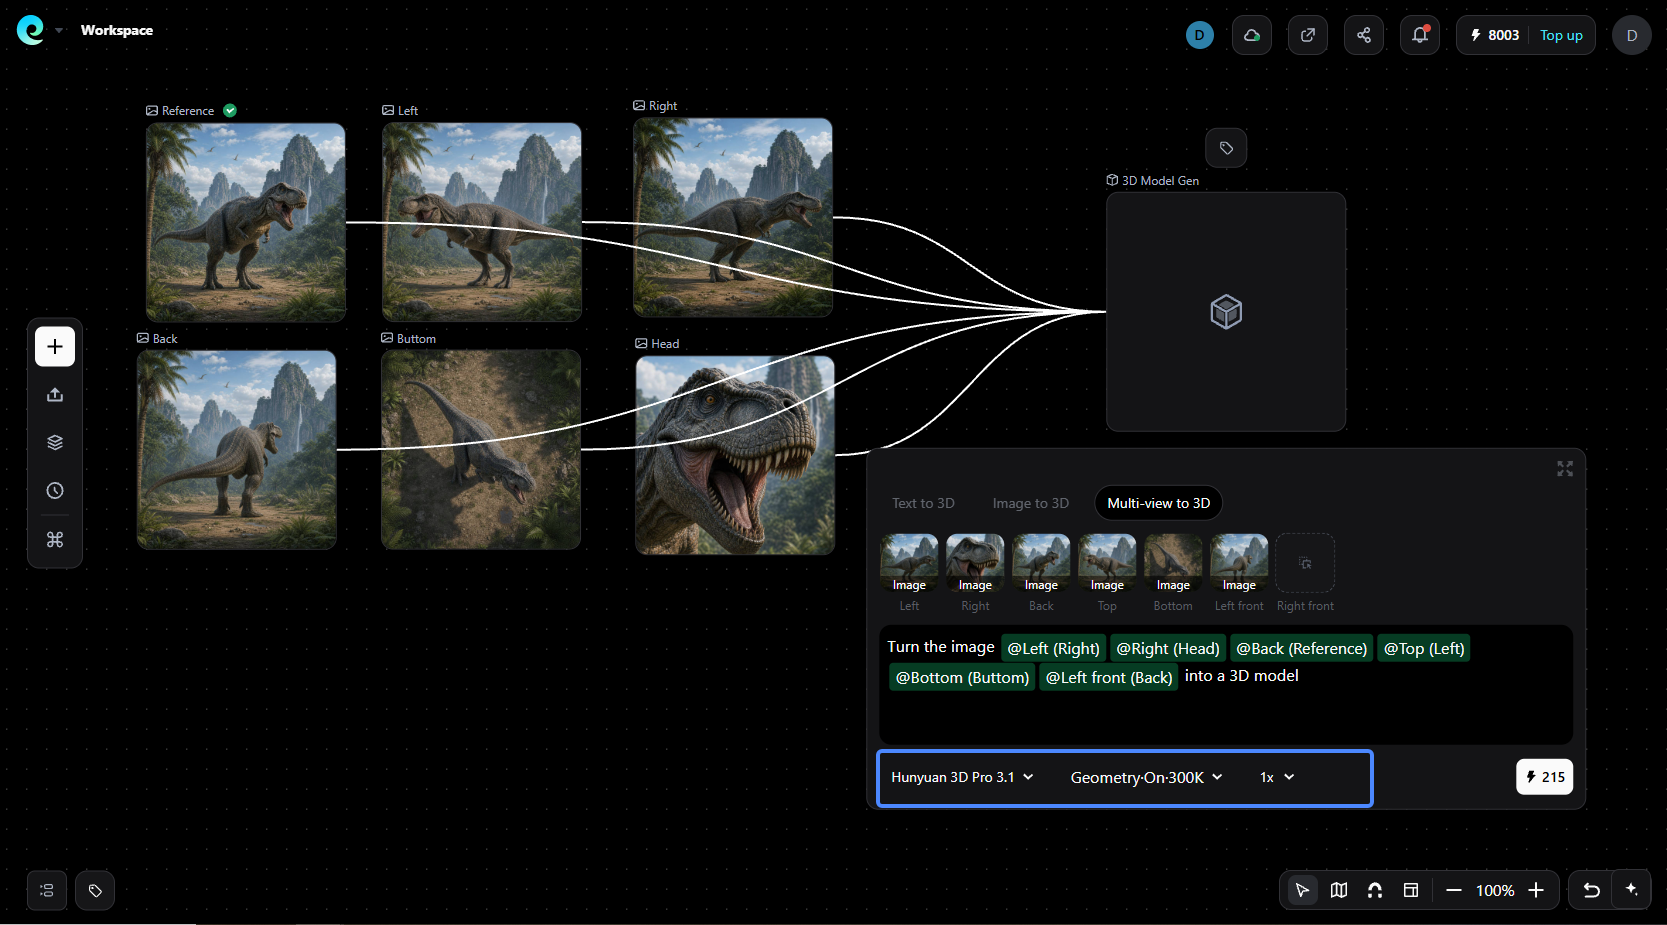
- Connect the 2D photo to the 3D Model Gen Node, then select the Hunyuan3D Pro 3.1 model at the bottom.
- Click the Credit number to generate — the model produces a textured 3D mesh in seconds.
- Preview, rotate, and export the result in your preferred format.
Best for: Users who want a unified creative workspace combining 3D generation with video, image, and audio AI tools.
Method 2: Photogrammetry Software (Professional Quality)
Photogrammetry tools reconstruct 3D geometry from multiple overlapping photographs of the same object — producing scan-quality models but requiring more input effort.
Adobe Substance 3D Sampler is the industry standard for this approach. Capture 20 to 50 photos of your object from every angle with balanced lighting, import them into Sampler's 3D Capture Wizard, and the software uses AI masking and point cloud reconstruction to generate a detailed mesh.
Steps:
- Photograph your subject from multiple angles with consistent lighting.
- Open Adobe Substance 3D Sampler and select 3D Capture.
- Import photos into the capture wizard.
- Review the point cloud and adjust the bounding box.
- Submit for processing, then export the mesh.
Best for: Product scanning, cultural heritage digitization, and professional asset creation where geometric accuracy matters.
Limitation: Requires dozens of photos; not practical for single-image conversion.
Method 3: Manual 3D Modeling From Image Reference
Using an image as a reference canvas inside 3D software gives you full control over geometry — but demands modeling skills and significant time.
In Blender, import your image as a background reference (`Add > Image > Reference`), then trace the shape using curves or polygons. Autodesk Fusion takes a similar approach to the image2Surface add-in or canvas import. This method produces the most accurate results for mechanical parts and precise geometry.
Best for: CAD work, engineering parts, and custom mechanical designs where AI-generated geometry lacks precision.
Method 4: Depth Estimation Tools (Research-Grade)
Single-image depth estimation uses machine learning to infer a depth map from one photo, then reconstructs a basic 3D mesh — useful for scene understanding but limited in detail.
Cornell's Make3D project (now largely historical) pioneered this approach. Modern equivalents include Meta's SAM 3D and open-source models on HuggingFace like TRELLIS-2 and Stable Fast 3D. TRELLIS-2 from Microsoft is MIT-licensed and produces balanced quality across geometry and texture at roughly 3 seconds per image.
Best for: Developers, researchers, and users who want to run image-to-3D locally without cloud dependencies.
Tips for Better Image-to-3D Results
The quality of your output depends heavily on your input. Based on testing across multiple platforms, these factors matter most:
- Use high-resolution images — 512x512 minimum; 1024x1024 or higher produces sharper geometry and textures.
- Choose a single clear subject — tools struggle with cluttered backgrounds and overlapping objects.
- Simple backgrounds improve accuracy — remove busy backgrounds before uploading when possible.
- Try multi-view if available — providing 2 to 4 angles dramatically improves backside geometry and overall consistency.
- Match the tool to the output — need STL for printing? Use Meshy or Tripo. Need FBX for animation? Use Pixmax or 3D AI Studio.
From Image to 3D Print: The Complete Pipeline
If your goal is to turn a picture into a 3D print, the workflow is: image → AI 3D generator → STL/3MF export → slicer → printer.
Meshy currently offers the most streamlined print pipeline with a 97% slicer pass rate in internal testing, one-click auto-repair for non-manifold geometry, and direct integration with Bambu Studio and OrcaSlicer. Tripo offers fast generation with auto-repair, while Pixmax exports standard formats compatible with all major slicers.
Reddit discussions in r/blender and r/3Dprinting consistently note that raw AI-generated meshes still need inspection — check for holes, flipped normals, and thin walls before printing (source: r/blenderhelp).
Frequently Asked Questions
Can you make a 3D model from a single photo?
Yes. AI tools like Pixmax, Meshy, and Tripo can generate a textured 3D model from one image in under two minutes. Multi-view input (2–4 photos) improves backside accuracy and texture consistency.
What is the best free AI 3D model generator?
MakerWorld MakerLab offers free credits for basic image-to-3D conversion. For open-source options, TRELLIS-2 and Stable Fast 3D run locally on HuggingFace with no subscription required.
How do I turn a 2D image into a 3D printable file?
Upload your image to an AI tool that exports STL or 3MF (Meshy, Tripo, or Pixmax). Download the file, import it into a slicer like Cura or Bambu Studio, check for printability issues, and send to your printer.
What file formats do AI image-to-3D tools support?
Most tools export OBJ, FBX, GLB, and STL. Meshy additionally supports USDZ, BLEND, 3MF, and DXF. Pixmax supports OBJ, FBX, and GLB via Hunyuan3D Pro 3.1.
How accurate are AI-generated 3D models?
AI reconstruction works well for single-subject objects with clear silhouettes. Complex backgrounds, transparent surfaces, and reflective materials reduce accuracy. For engineering-grade precision, photogrammetry or manual modeling remains superior.
Is photogrammetry better than AI image-to-3D?
Photogrammetry produces higher geometric fidelity but requires 20 to 50 carefully captured photos and more processing time. AI tools trade some accuracy for extreme speed and single-image convenience.
Conclusion
Turning an image into a 3D model in 2026 is faster and more accessible than ever. For most users — whether you need a quick 3D print from a photo or a game-ready asset — an AI platform like Pixmax, Meshy, or Tripo will get you from upload to export in under two minutes. For scan-quality work, photogrammetry still wins. For precision engineering, manual modeling remains king. Choose based on your quality requirement, not habit.